Monday, August 22, 2011

Tex Mex Veggie Burgers

I have taken a few weeks off from cooking because of vacation, but I am back in DC and have a lot of new meal and dessert ideas for the fall! I am a huge fan of veggie burgers, and although I enjoy the convenience of the frozen, store bought kind (especially from Trader Joe's) I have been looking for something different that I could make at home. I stumbled upon a few recipes to chose from, and decided on a tex-mex style bean burger. The perfect combination of hot jalapeno peppers, filling beans and rice, and smooth avocados. It reminded me a lot of a bean burrito, just on hamburger buns!


Ingredients:
1 c. quick-cooking brown rice
2 ripe medium tomatoes, chopped
2 Tbsp. fresh cilantro, chopped
1 Tbsp. fresh lime juice
1 Tbsp. pickled jalapeno slices, finely chopped
Salt and pepper
1 can pinto beans, rinsed and drained
1 c. corn kernels
1 clove garlic, crushed with press or finely chopped
1/2 tsp group coriander
1/4 tsp chipotle chile powder
1 Tbsp. vegetable oil
Whole wheat hamburger buns
Avocado slices
Any other toppings - Spinach, jalapenos, etc.

Directions:

1. Cook rice as directed on box. Let cool.

2. Combine tomatoes, cilantro, lime juice, jalapeno, and 1/8 teaspoon salt in a bowl.
Set aside. This will be the salsa topping for your burger.
*I added extra jalapenos to give it an extra kick

3. In food processor, pulse rice, beans, corn, garlic, coriander, chile powder,
1/2 tsp salt, and 1/4 tsp pepper until combined.


The patty mixture can be covered and refrigerated for up to 4 hours.
I know - it does not look appetizing now, but it will be soon!

4. Shape mixture into 3-4 patties, depending on the number of servings.
(I made 3 large patties but you can definitely make 4 out of this amount)
In skillet, heat oil for about 1 minute. Cook burgers 8-10 minutes or until browned, turning once.

5. Serve on whole wheat buns with the jalapeno tomato salsa, and other toppings of your choice. 
We used spinach, avocado, and extra jalapenos. 
(Sorry for the out of focus picture, I was in a hurry to eat!)
Instead of a typical side salad to complete this meal, I decided to make one of my favorite summer salads. A delicious watermelon and feta salad.

Mix together watermelon, feta, basil, and balsamic vinegar for a refreshing summer salad.
You can also use mint leaves instead of the basil, and ricotta instead of feta.

A healthy, filling summer dinner that can be enjoyed by vegetarians and non-vegetarians alike!


Sunday, August 7, 2011

WHOOPIE!!

Who doesn't love the childhood favorite Whoopie Pies aka gobs? As a child, my favorite were the traditional chocolate cake pies with cream in the middle. Now, I love the red velvet and pumpkin versions. I was lucky enough to recieve a whoopie pie pan and mix for my birthday. These pans make the perfect whoopie pie cakes. I decided to make these as the dessert to a healthier, summer dish that I found in the Washington Post a few weeks back. Both together make a perfect summer evening meal!

 Shrimp and Pasta with Feta and Spinach Casserole

Ingredients:
1/4 tsp of salt
8 oz dried pasta
3 Tbsp EVOO
2 cups baby spinach
3 Tbsp grated Parmigiano Reggiano cheese
3 oz feta cheese
2 medium cloves garlic
1 pound large, peeled and deveined, shrimp
14 oz canned whole tomatoes
1/4 cup dry white wine
1 tsp dried oregano,
1/4 tsp crushed red pepper
Leaves from 6-8 stems parsley
1/4 tsp ground black pepper

Note: The original recipe calls for using orzo or stelline, but I had whole wheat rotini that I wanted to use


1. Bring large pot of water to a boil. Cook pasta according to directions. Drain and return to pot
2. Preheat the oven to 400 degrees. Use a tsp of oil and brush the inside of a medium bakin dish.


3. Coarsely chop the spinach and crumble the feta.
4. Stir in 1 Tbsp of the oil into the pot with the pasta, then add the spinach, Parmigiano-Reggiano, and half of the feta. Transfer the mixture to the prepared baking dish.
5. Chop the garlic.

6. Heat 1 Tbsp oil into skillet over medium-high heat. Add the shrimp and cook until slightly pink. Mix shrimp into the pasta dish.
7. Coarsely chop the tomatoes, saving their juices.

8. Heat the remaining oil in a skillet over medium heat. Ad the garlic and cook until fragrant. Stir in the tomatoes and their juices, wine, oregano, and crushed red peppers. Cook for about 5 minutes, stirring occasionally.
9. Chop the parsely, and stir into the tomatoe sauce. Remove from heat. Season with salt and pepper.


10. Spoon the sacue over the shrimp and pasta.
11. Transfer to the oven and bake for about 10 minutes. Sprinkle with remaining feta.

This dish is delicious! And it is good hot or cold. I am thinking of putting a little over a bowl of spinach salad for a nice lunch tomorrow.

Whoopie Pie

Originially, I was going to make my first round of whoopie pies from a box mix that I was given with the pan on my birthday. I left them in the oven a minute to long and they burned. I ended up making the cakes from scratch, and used the filling mix that was in the box. Next time I will do both from scratch, but the boxed filling sure is good!

Whoopie Pie Cake Ingredients (makes 12 cake halves, or 6 whoopie pies)
1/2 stick of butter, softened
1/2 cup firmly packed brown sugar
1 egg
1/2 tsp vanilla extract
1 cup all-purpose flour
1/4 cup cocoa powder
1/2 tsp baking powder
1/2 tsp baking soda
1/4 tsp salt
1/2 cup buttermilk

For filling:
I used the box mix, plus 6 Tbsp butter, and 1/2 Tbsp milk.

Note: I did not have buttermilk, so I made my own! For 1/2 cup of buttermilk, I filled a half cup with 1/2 Tbsp of lemon juice and then filled the remainder with milk. Let it sit for 5 minutes to sour and you have the equivalent of butter milk!

1. Preheat oven to 350 degrees. Spray Whoopie Pie pan with cooking spray.
2. Beat butter and sugar with mixer until light and fluffy. Add egg and vanilla, beat until combined.
3. In another bowl, sift togther flour, cocoa powder, baking powder, baking soda, and salt.

4. Add half the dry ingredients into the butter mixture and mix. When most of the dry ingredients are incorporated, add the buttermilk.
5. When mixed, stop the mixer and add the remaining dry ingredients. Mix on low just until combined.

6. Spoon approximately 2 Tbsp of batter into each whoopi pie maker. Each should be about 2/3 of the way full.
7. Bake for 8-10 minutes. Allow to cool completely.

The filling I used came from a box mix, but a standard Whoopie Pie filling
contains confectioner's sugar, butter, and marshmallow fluff.

Once filling is mixed, spread on one cake and sandwich with another cake.

You can get almost as creative as cupcakes with Whoopie pies! I made some with yellow filling (which I will use again during football season!) I also used fruit jam on a few others.
Other ideas include flavoring the filling, making different flavored whoopie pies, using sprinkles and other decorative candies, and using food coloring to make the filling various colors. The whoopie pies aren't huge like ones you might get at the bakery, so they are nice little treat!

I have to say, these whoopie pies were amazing!! I am excited to make some more black and yellow ones come football season, as well as experimenting with different flavored cake batter.


Tuesday, July 26, 2011

Christmas in July

Who doesn't love holiday desserts? And what better time to make them than in the hot month of July. While the East Coast was experiencing the hottest days of summer, I was busy coming up with a perfect holiday cake that I could use to enter the Southern Living Holiday Cake Recipe Contest. The contest rules: Use one of the 5 cake batter recipes that they provide you, then come up with your own filling and frosting to make a creative, and delicious, holiday cake. The cake must be mostly white on the outside because it is for Southern Living's December holiday cover. I took inspiration from a classic Italian dessert, Spumoni, for my cake creation.


The Batter
Southern Living had 5 recipes for cake batter available. I chose the Chocolate Velvet Cake Batter which you can find here, along with the other cake recipes.


1 1/2 cups semisweet chocolate chips, 1/2 cup butter (softened), 16oz box light brown sugar,
3 large eggs, 2 cups flour, 1 tsp baking soda, 1/2 tsp salt, 1 8oz sour cream,
1 cup hot water, 2 tsp vanilla
Dry ingredients: Sift together flour, baking soda and salt in separate bowl.


Beat butter and sugar for 5 minutes. Add egg 1 at a time.

In the mean time, melt chocolate chips in microwave safe bowl.

Add melted chocolate.


Gradually add flour mixture and sour cream to the chocolate batter.
Alternate between the two, beginning and ending with the flour mixture.
Add hot water in a slow, steady stream, beating just until blended. Add vanilla.

Divide among 3-9 inch can pans. Bake at 350 for 25-30 minutes.
Cool completely before adding filling or frosting. 
Pistachio and Cherry Pudding Filling

I recommend making the filling first so it has time to set in the refrigerator.


2 packages of pistachio pudding, 2 1/2 cups of cold milk, 1 cup heavy whipping cream,
1/4 cup chopped pistachios, 20 chopped maraschino cherries.

Cream Cheese Frosting

2-8oz cream cheese, 1 stick of butter (room temperature), 2 1/2 cups confectioner's sugar, 
3 Tbsp milk, 1 - 1 1/2 cups cool whip, 1/2 cup chopped pistachios. 
Cream together cream cheese and butter. Add sugar and milk in 3 parts, alternating for each addition.
Mix until blended.
Fold in cool whip and pistachios.
The Final Product!

Once the cakes have cooled completely, add the filling between the 3 layers. When the cake has been assembled, frost the entire cake.

Add a few maraschino cherries and pistachios to the top of the cake for garnish.

Overall, this was one of the best cake batters I have ever had. I am looking forward to trying some of the other ones that were recommended on the contest website. I found that the cake tasted best when kept cold in the refrigerator. This allowed for the pudding center to stay solid and the cream cheese frosting tastes better cold than at room temperature. The cake was enjoyed by many! Fingers crossed that my Chocolate Pistachio Pudding Cake wins the Southern Living contest!


Friday, July 15, 2011

Peanut Butter, Chocolate, and Bacon: Something for Everyone!

What could be better then a peanut butter cookie with chocolate chips? A peanut butter cookie with chocolate chips and BACON!! Although I personally would enjoy this creation (I am a vegetarian), I know that many people would love the combination of sweet and salty goodness, the soft cookie and crisp bacon. And you can't forget the maple glaze that goes with the crispy bacon! I found this fun recipe on foodnetwork.com and just had to try it. And for the first time I did not come out of the kitchen a mess because of my new apron! Unfortunately, I can't report on the taste just yet. The cookies were sent off to my taste tester in Vermont. Fingers crossed that they are good!

You can find the recipe here for Food Networks Peanut butter chocolate chip bacon cookies. I modified a few things after reading the reviews and to make the recipe my own.


Ingredients (there is a lot!)
  • 1 1/4 cups all-purpose flour
  • 1/4 teaspoon baking soda
  • 1/4 teaspoon baking powder
  • 1/8 teaspoon ground cinnamon
  • 1/4 teaspoon chili pepper
  • 1/4 teaspoon sea salt
  • nearly 1 pound of bacon
  • 4 tablespoons unsalted butter, at room temperature
  • 1/2 cup creamy peanut butter
  • 1/2 cup granulated sugar
  • 1/2 cup packed light brown sugar
  • 1 large egg
  • 1 teaspoon vanilla extract
  • 1/2 cup milk chocolate chips
*The above list is what I used in my cookies. I used a lot more bacon then the original recipe calls for, a little more chili pepper, and more chocolate chips.


Mix flour, baking soda, baking powder, salt, cinnamon, and chili pepper in a bowl.

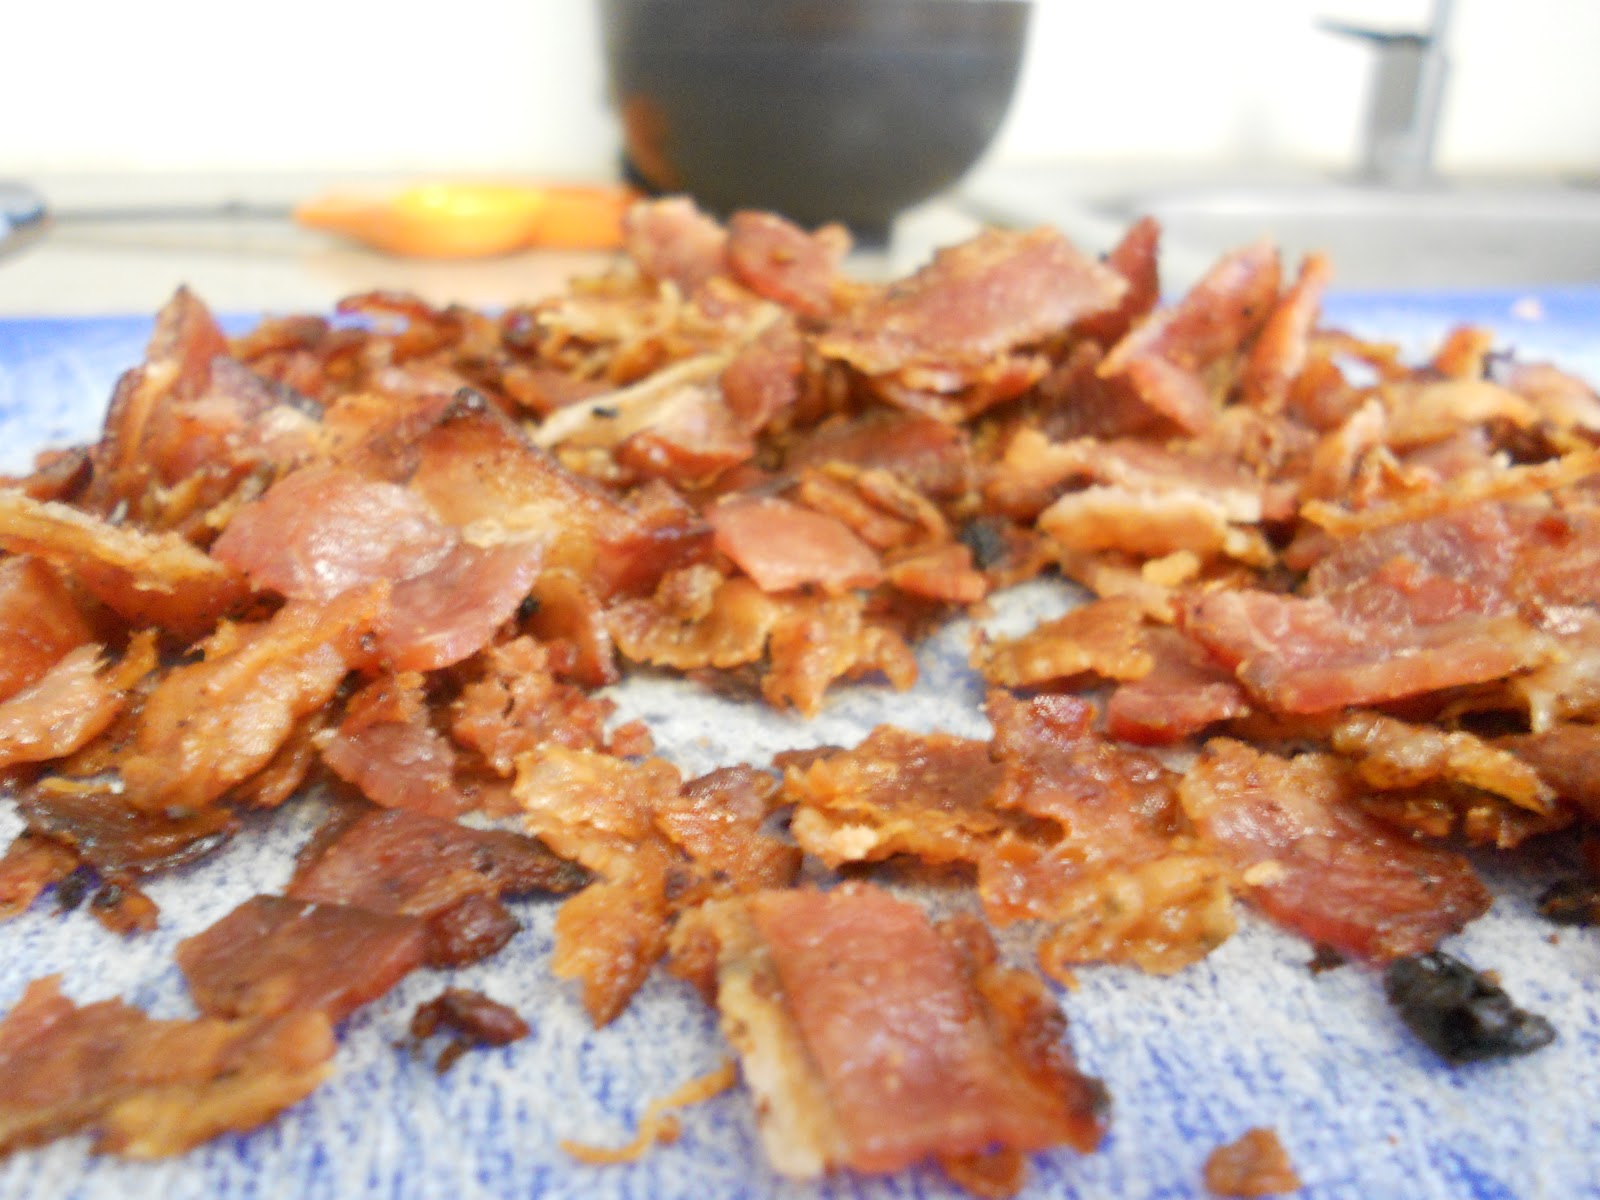
Cook bacon until crispy. (definitely not my favorite part)

Mix together butter and reserved bacon drippings (gross!). Beat until smooth.
  
Beat in peanut butter until combined. Beat in sugar and brown sugar until creamy. Add egg and vanilla
Add the flour mixture in 2 parts. Be sure to scrape the bowl.
If the dough is too crumbly (which mine was) add a little bit of water until desired consistency.

Fold in 1/3 to 1/2 of the crumbled bacon and chocolate chips to the dough.
 
Form dough into balls and flatten out on cookie sheet. Sprinkle extra bacon on the top.

Bake at 350 for 12-14 minutes. I actually think 14-15 minutes was best in my oven.

Cooling cookies!

Maple syrup glaze: 1 cup powdered sugar, 1/4 cup maple sugar, 1 teaspoon vanilla
This makes a lot more glaze then what is needed.

The finished product!!

I may not know how good they taste, but I know how good they look! The maple glaze added an extra touch of sweetness to the not so sweet peanut butter cookies.  Even though I don't eat bacon, I have to admit the smell in my kitchen today was amazing! I will report back once I hear from my taste tester how they are!

Tuesday, July 5, 2011

4th of July Weekend

The 4th of July is a holiday that doesn't involve gifts and a lot of preparation, but instead it is all about family and friends, good food, good beer, and fireworks. This might be my favorite few days of the year. I have a thing for fireworks, and really don't understand why all holidays aren't celebrated with a display of beautiful colors that everyone can enjoy. The weekend should be relaxing, simple, with thrown together cookouts, laying poolside, and enjoying the company of those around you. As much as I love to cook and bake festive food for holidays, I didn't want to spend the time baking all weekend. I decided to have a few things ready to go for a no-fuss weekend, including breakfast, cookies, and another red, white, and blue treat.

The first thing on my weekend menu is a healthy, Egg White Frittata for breakfast. I didn't follow any recipes, just threw it together with the left over veggies I had laying around.

Ingredients: 12 egg whites, 3 small sweet potatoes, 1/4 chopped yellow onion, 1/2 zucchini, and feta cheese, scallions, Italian seasoning, and black pepper.

Saute the veggies with nothing but cooking spray, pepper, and some seasoning.

Whip the 12 egg whites with a little water.

Pour eggs into veggie mixture. Add feta and extra seasoning.
Cook on stove top until outsides are completely cooked.

Broil for about 10 minutes or until golden brown and set in the middle.

A delicious, healthy breakfast!
For my cookie treats, I decided to go as healthy as cookies can get, while still being delicious. I found a recipe for Heart Smart Chocolate Cherry Cookies.  Some of the changes I made: I used 2 egg whites, instead of 1 whole egg. I divided the batter in two, and did white chocolate chips in half, dark chocolate in the other. I also used cherry flavored craisins.

Whole wheat flour, oats, and egg whites, make this recipe a healthier option.
Mix flours, oats, baking soda, and salt. 

Melt butter in saucepan. Add brown sugar, stirring until smooth.

 Pour butter and brown sugar into dry ingredient mixture.
Beat with a mixer. Add dried cherries (or craisins), vanilla, and egg whites.
Beat until combined.

Fold in chocolate, or white chocolate.

Bake at 350 for approximately 12 minutes.
Nomtastic oatmeal, cherry, chocolate cookies!

I personally liked the white chocolate ones the best. I thought the sweetness really complimented the tartness of the cherry flavored craisins.
The final treat I made was more patriotic, but very simple. Red, White, and Blue Chocolate Covered Strawberries. Yum!


Decorating assembly line.


A relaxing, fun 4th of July weekend was a success! After all of the delicious food, beer, and good times, the weekend ended with my favorite thing with my favorite person....